Set Account Lockout Policies And Timeouts
Overview
If you wish to restrict a user's access to QueryPie, you can customize the lockout policy for their account or establish a timeout period.
Set User Account Policies
To streamline personal data control, consider implementing an expiration policy for accounts inactive over a prolonged period. Additionally, to prevent unauthorized access, consider locking user accounts after repeated authentication failures. You can configure account policies for QueryPie system access in the Account Lockout Policy section of the Security menu, and set a password expiration period in the Password Setting section.

Settings > General Settings > Company Management > Security
From the General Settings menu, navigate to the Company Management > Security menu.
Define the account policies under Account Lockout Policy and Password Setting:
Account Expiration Period (Days): Set the expiration period for user accounts. If a user does not log in to QueryPie within the defined number of days, one’s status will be marked as expired. The default expiration period is set to 30 days.
Maximum Login Failures: Specify the maximum number of failed login attempts allowed before access to QueryPie is restricted. The default limit is set to 5 failed attempts.
Specified Time Interval Before Lockout: Reset the count of failed login attempts if the specified time interval elapses with exceeding the maximum login failures. The default interval is set to 1 day.
Maximum Password Age: Define how often passwords expire for QueryPie users. The default value is set to 90 days.
Click
Save Changesin the upper-right corner to apply the configured policies.
Set Timeouts
You should restrict the maximum access time to ensure that authorized users can only access the system for the necessary duration. In the Others section of the Security menu, you can establish a timeout policy for user accounts accessing the QueryPie system.
Settings > General Settings > Company Management > Security
From the General Settings menu, navigate to the Company Management > Security menu.
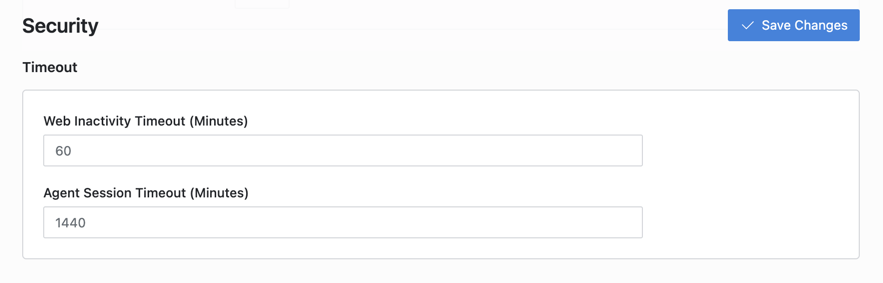
Under Timeout, configure IP access control and timeout policies.
Web Inactivity Timeout (Minutes): Determine the session timeout duration for QueryPie Web based on idle time. The default is set to 60 minutes.
Agent Session Timeout (Minutes): Specify the session timeout duration for the QueryPie Agent app. The default value is 24 hours (1,440 minutes) based on app login.
Click
Save Changesin the upper-right corner to apply your modifications.
Set Encryption When Extracting Files
You can enable users to encrypt files when they export them from QueryPie Web. In the Others section, you can set a policy for encryption when exporting files from the QueryPie system.
Settings > General Settings > Company Management > Security
From the General Settings menu, navigate to the Company Management > Security menu.
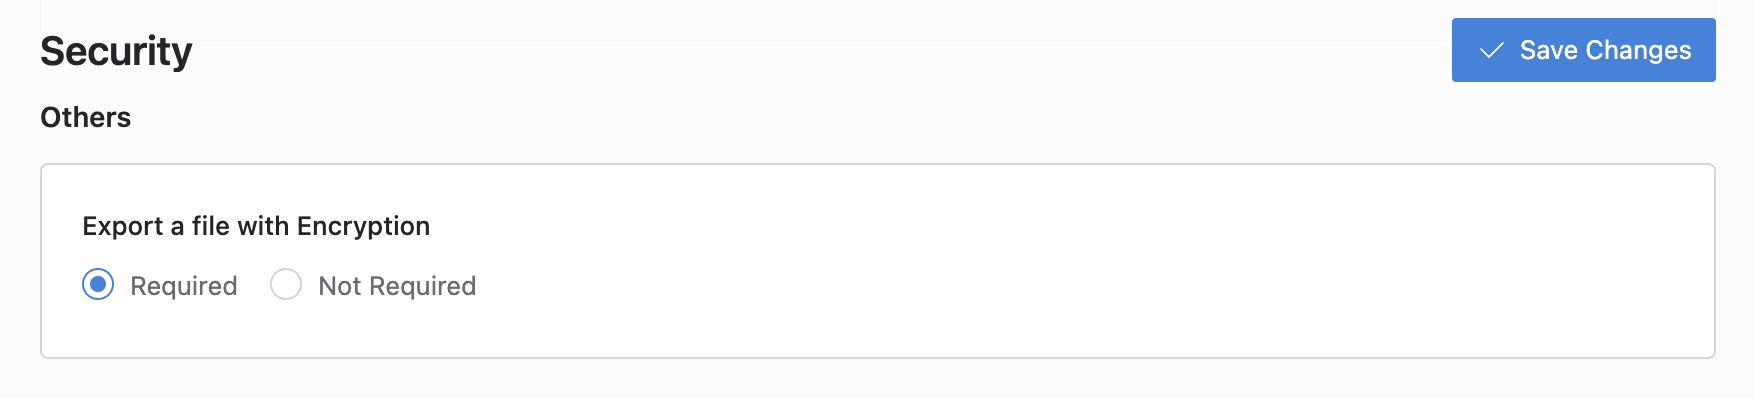
Under Others, toggle the
Export a file with Encryptionsetting toRequired. By default, it is disabled.Click
Save Changesin the top right corner to apply the changes. Afterward, when a user attempts to extract file from QueryPie, they will see the screen below and will be able to export it after encryption.
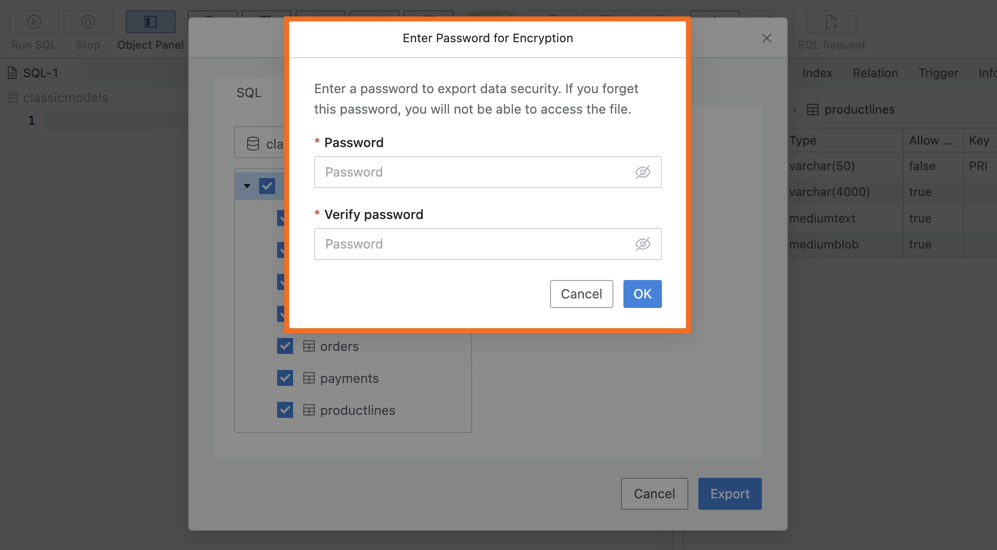
Screen for encryption when exporting files from QueryPie Web
Related Topics